
Discreet yet formidably effective, the outdoor low row has become one of the must-have apparatus in public fitness areas. While exercisers flock to pull-up bars and parallel bars, the low row often remains in the shadows, wrongly so. Yet it’s one of the few outdoor sports machines capable of precisely targeting the middle of the back, an area that conventional pull-ups don’t work as well, yet which directly affects posture and the prevention of neck pain.
This guide reviews everything you need to know to take full advantage of the outdoor low row: the muscles it calls upon, the correct technique, variations for progress, and above all a complete back program to be carried out in the park, around which this apparatus will play a central role. Whether you’re a beginner or a seasoned practitioner, you’ll find everything you need to structure an effective back workout, free of charge and entirely outdoors.
To remember:
- The external low row is the ultimate horizontal pull-up apparatus: it targets the lats, rhomboids, middle trapezius, biceps and posterior deltoids.
- It’s an essential complement to the chest press, balancing push and pull forces and correcting posture (shoulders forward, back arched).
- Three key techniques: retract the shoulder blades before pulling, keep the back straight (no round back), pull the elbows towards the back of the body and not just towards yourself.
- For a complete back in the park: low row + pull-ups + Australian pull-ups alone cover 90% of back muscle chains, enough for lasting progress.
- Recommended format: 3 to 4 sets of 10 to 15 repetitions in low row, with 60 to 90 seconds recovery, two to three times a week for visible results in 6 to 8 weeks.
What is an outdoor low row?

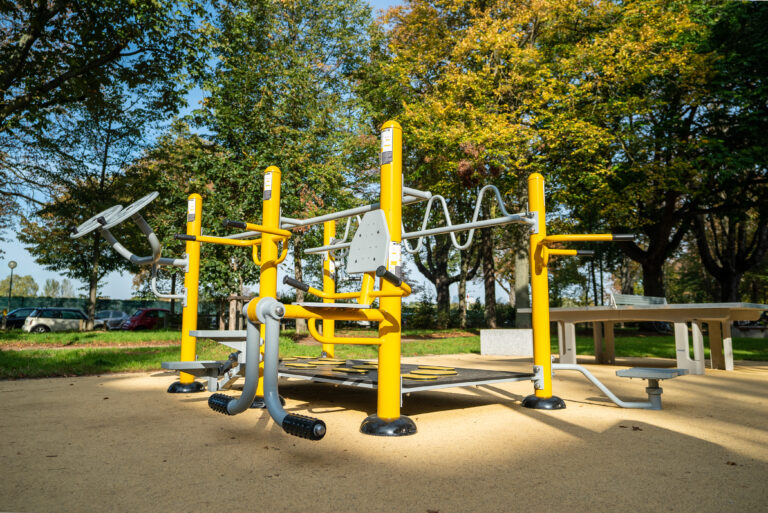
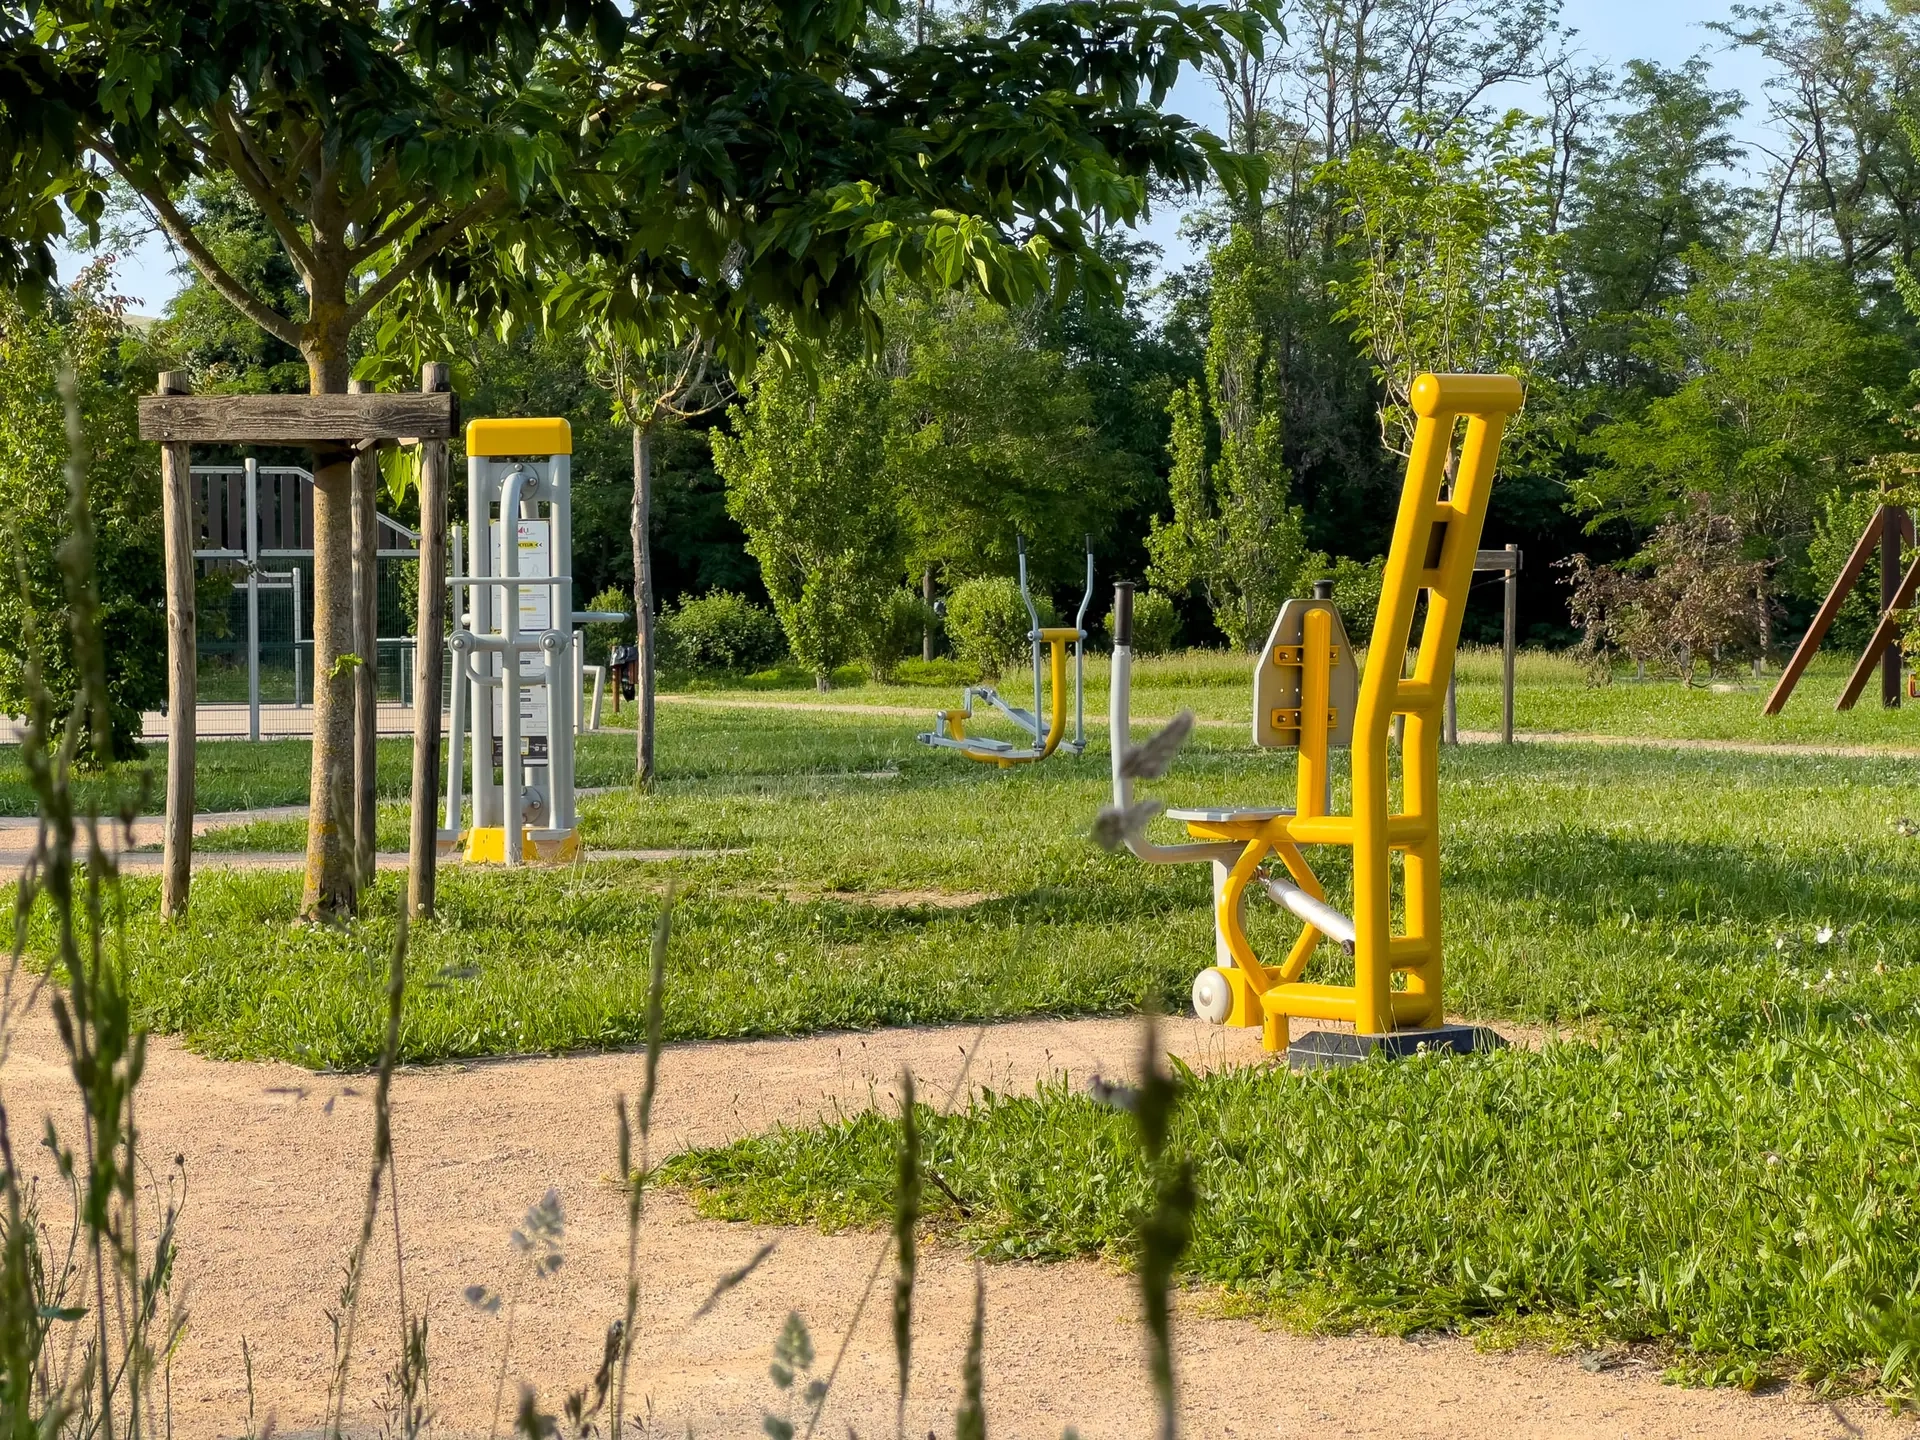
The outdoor low row, sometimes called the outdoor horizontal pull or body resistance rower, is a guided-movement weight-training machine found in most modern public fitness areas. It consists of a seat, a fixed footrest and two articulated handles that the user pulls towards his or her trunk, leaning slightly backwards.
The resistance principle is clever: resistance comes from the user’s body weight, sometimes combined with a mechanical lever system. The more you lean back and pull on the handles, the greater the resistance. This ergonomic design makes it possible to adjust difficulty without adjustment: all you have to do is change the inclination of your body. The low row faithfully reproduces the movement of the indoor horizontal pull, except that it can be used free of charge in the open air, and is designed to withstand the elements (galvanized steel, epoxy paint, composite seats).
From a biomechanical point of view, the low row complements the chest press: one works the push chain (pectorals, triceps), the other the pull chain (back, biceps). It’s precisely this complementarity that makes them the most useful pairing in a fitness area for balanced upper-body work.
Which muscles are targeted by the external low row?
The low row is a horizontal pulling movement, in which the resistance is pulled towards the trunk from a position in front of you. As such, it mainly involves the posterior muscle chain of the upper body.
| Muscle | Role in the exercise | Profit |
| Large dorsal | Main muscle, agonist | Back width, pulling force, posture |
| Rhomboids | Retraction of the shoulder blades | Posture, chest opening, anti-cyphosis |
| Medium trapezius | Scapula stabilization | Strengthens the upper back, prevents neck pain |
| Biceps brachii | Synergist, elbow flexion | Traction force, forearm curvature |
| Posterior deltoid | Synergist, shoulder extension | Shoulder muscle balance, injury prevention |
| Lumbar support | Trunk stabilizer | Lower back protection, force transmission |
The dorsalis major muscle
It’s the agonist muscle for exercise. The latissimus dorsi is the largest muscle in the back: it starts at the spine and inserts onto the humerus. Its function is to bring the arm backwards and towards the trunk. The low row works the arm intensely, but in a different way to the pull-ups: the latter work the arm in vertical extension (arms above the head downwards), whereas the low row works the arm in horizontal extension. Combining the two exercises guarantees complete muscle development.
The rhomboids and middle trapezius: rediscovering posture
These are the real beneficiaries of low row, and that’s what makes this exercise particularly valuable in the age of telecommuting and screens. The rhomboids (between the shoulder blades) and the middle trapezius (upper back) are responsible for retracting the shoulder blades and maintaining an upright posture. With modern sedentary lifestyles, these muscles atrophy, leading to shoulders that drop forward, hunched backs and neck pain. The low row, because it forces the shoulder blades to retract at the start of the movement, awakens and strengthens precisely these muscles.
Biceps and posterior deltoid
The biceps work in synergy to flex the elbow and pull the resistance towards you. The posterior deltoid (back of the shoulder) helps extend the arm backwards. The posterior deltoid is an often-neglected muscle, but essential to shoulder balance: anterior deltoid that is too strong in relation to the posterior predisposes to shoulder injuries. The low row helps to restore this balance.
How to use an outdoor low row correctly?
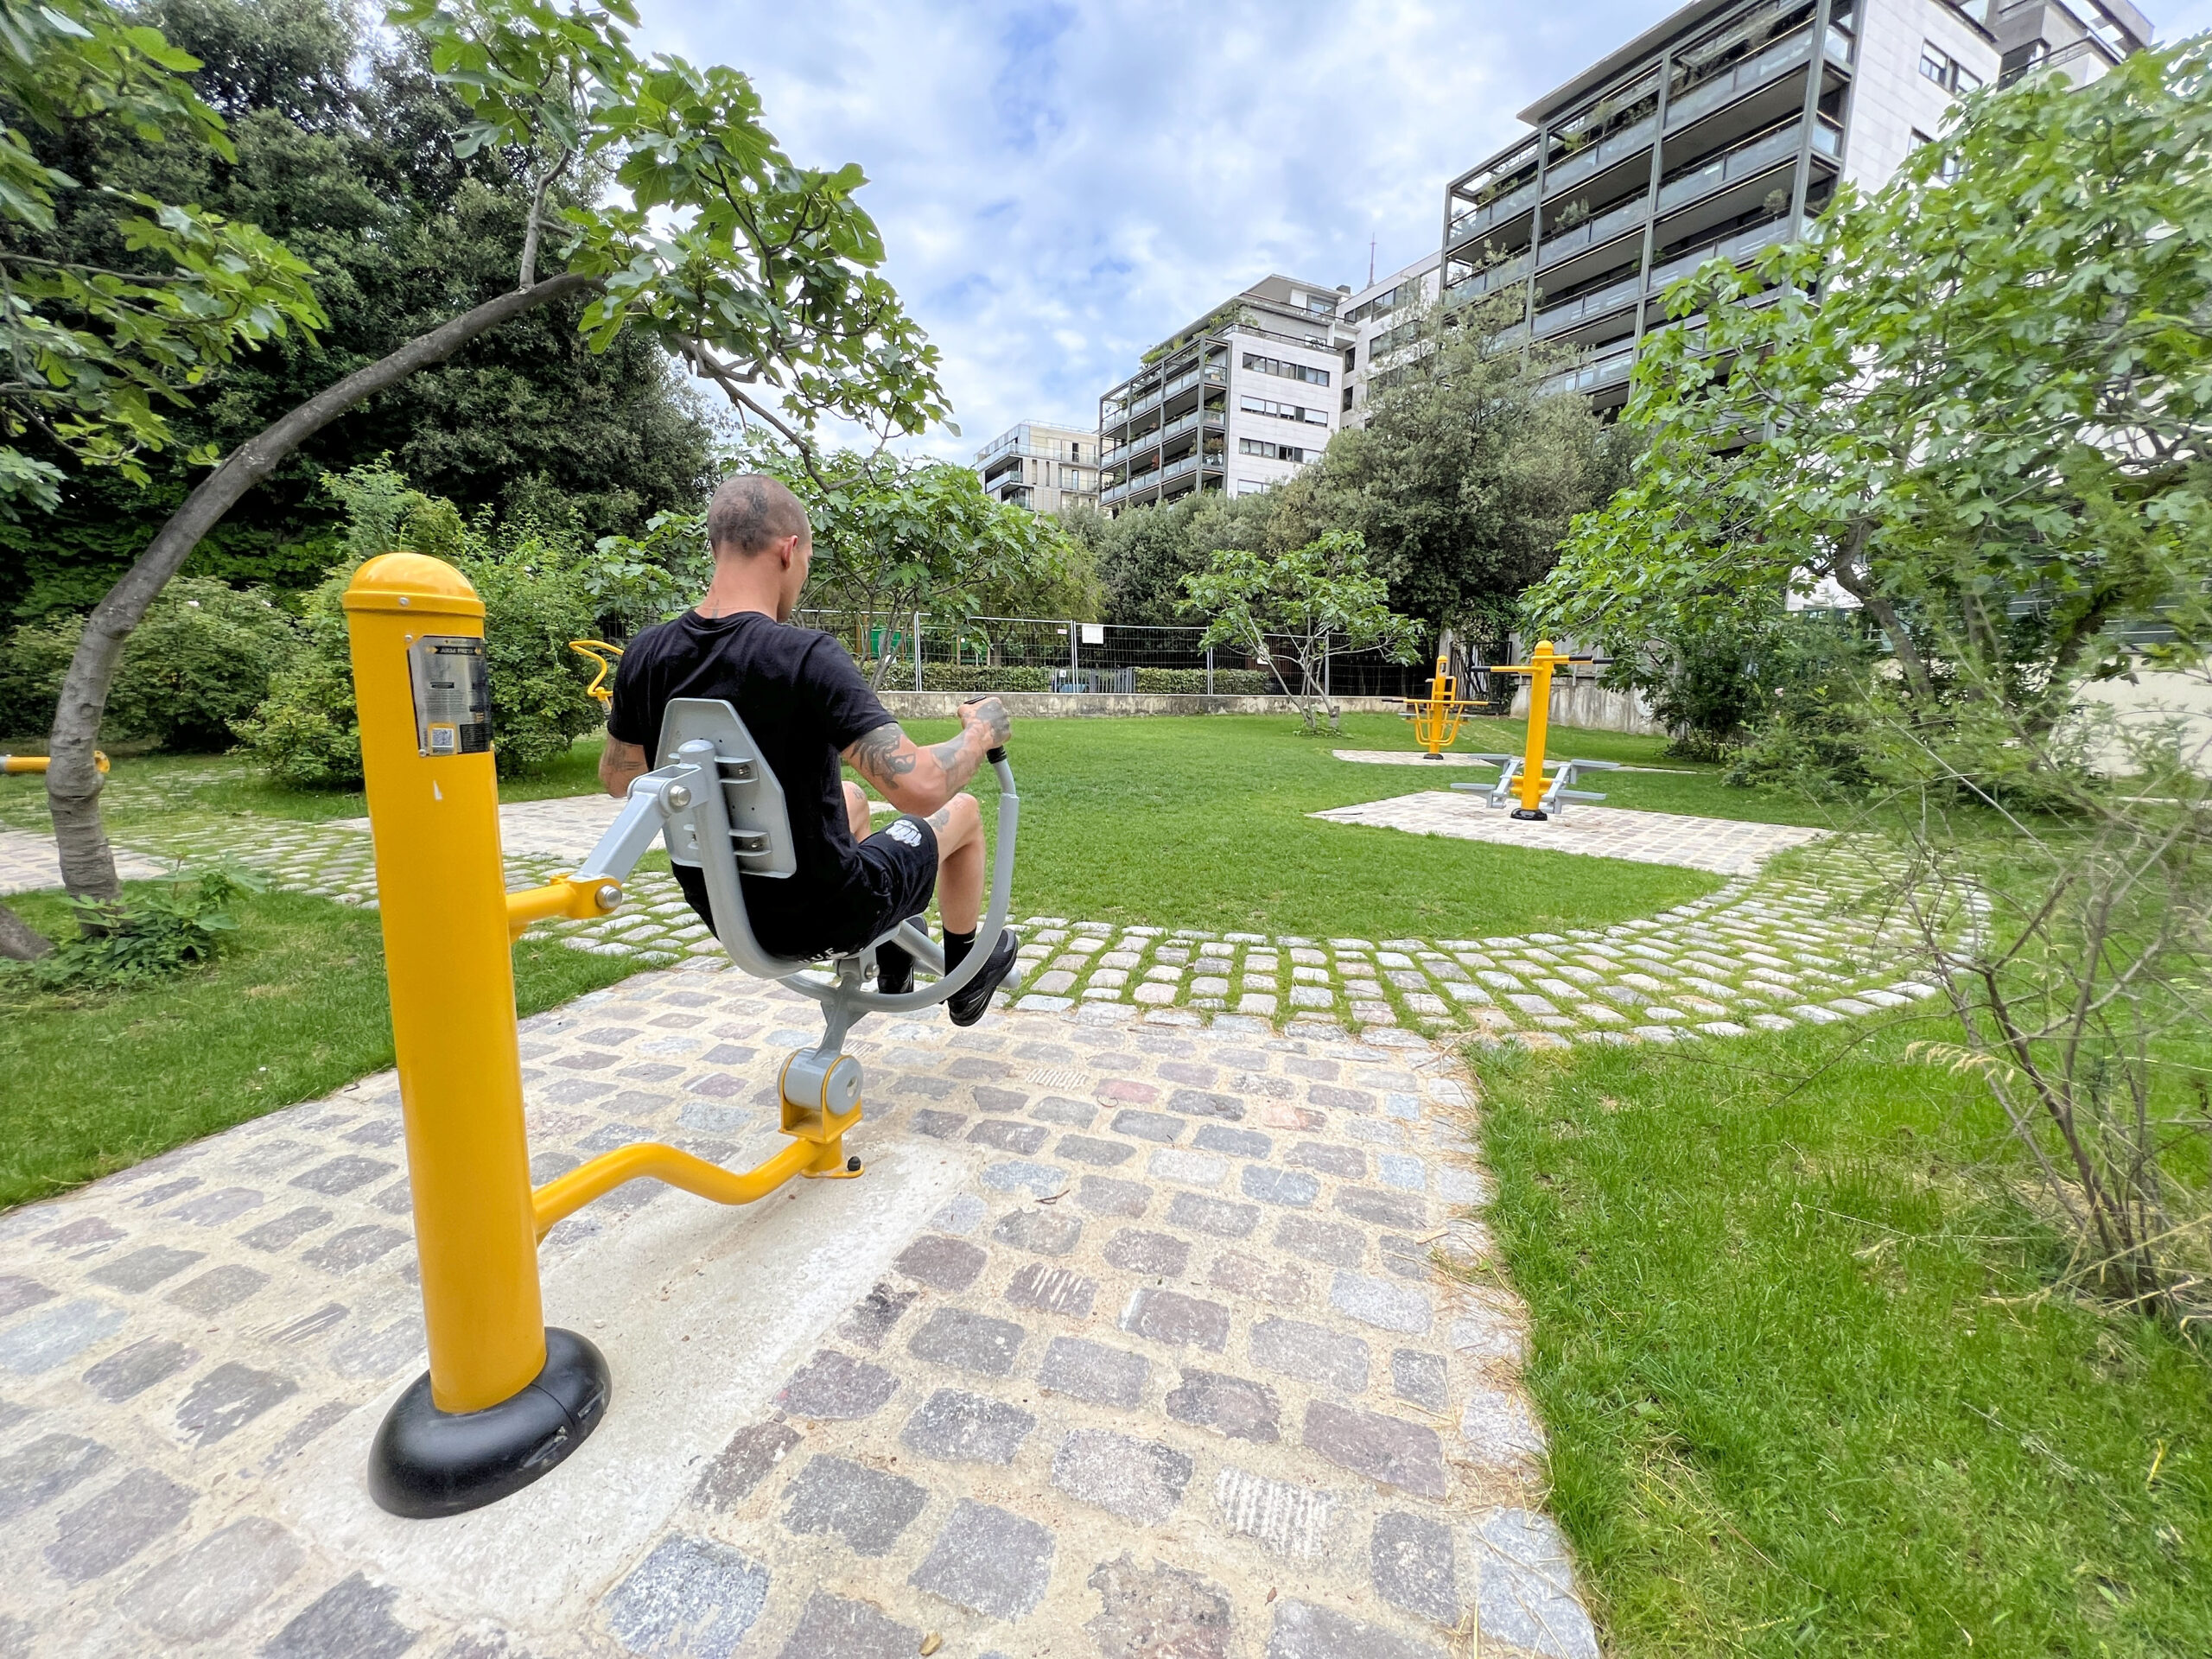
Like all guided apparatus, the low row tolerates poor execution without immediate risk of serious injury, but imperfect technique considerably reduces its effectiveness. Here’s how to get the most out of it.
Before the series: installation
- Sit on the apparatus with your buttocks firmly planted on the seat.
- Place your feet firmly against the footrest, legs slightly bent (not stretched, which would put excessive strain on the lower back).
- Grasp the handles with a full grip, thumbs curled. Arms straight at the start of the movement (but elbows not locked).
- Engage abdominal and lumbar sheathing: abdominals slightly contracted, back straight (neither round nor arched).
- Before the first pull, take a deep breath and consciously retract your shoulder blades, bringing them together behind your back.
During movement
- Pulling phase (concentric): exhale as you pull the handles towards your trunk, aiming for the area below the sternum/above the navel. Elbows should pass behind the body line at the end of the movement.
- Return phase (eccentric): inhale as you let your arms slowly return forward, over 2 to 3 seconds. This is the phase that produces the greatest long-term muscle gain.
- Amplitude: never fully extend your arms at the end of the return stroke: keep a slight bend in the elbow to maintain tension in the back.
The golden rule: pull with your back, not your arms
The most common mistake in the low row is to bend the elbows to pull the handles, as if you were doing a biceps curl. It’s inefficient and doesn’t train the back. The movement should always start from the retraction of the shoulder blades: they initiate the movement, and the arms follow. To get a good feel for this, try this exercise: sit down with your hands dangling, and just try to bring your shoulder blades together. This sensation is the real start of the pull.
Recommended format
For beginners, aim for 3 sets of 10 repetitions, with 75 to 90 seconds recovery. For intermediates, 4 sets of 12 to 15 repetitions, 60 seconds recovery. For an advanced user, 4 to 5 sets of 15 to 20 repetitions or in slow tempo (downhill over 3 seconds), recovery reduced to 45 seconds.
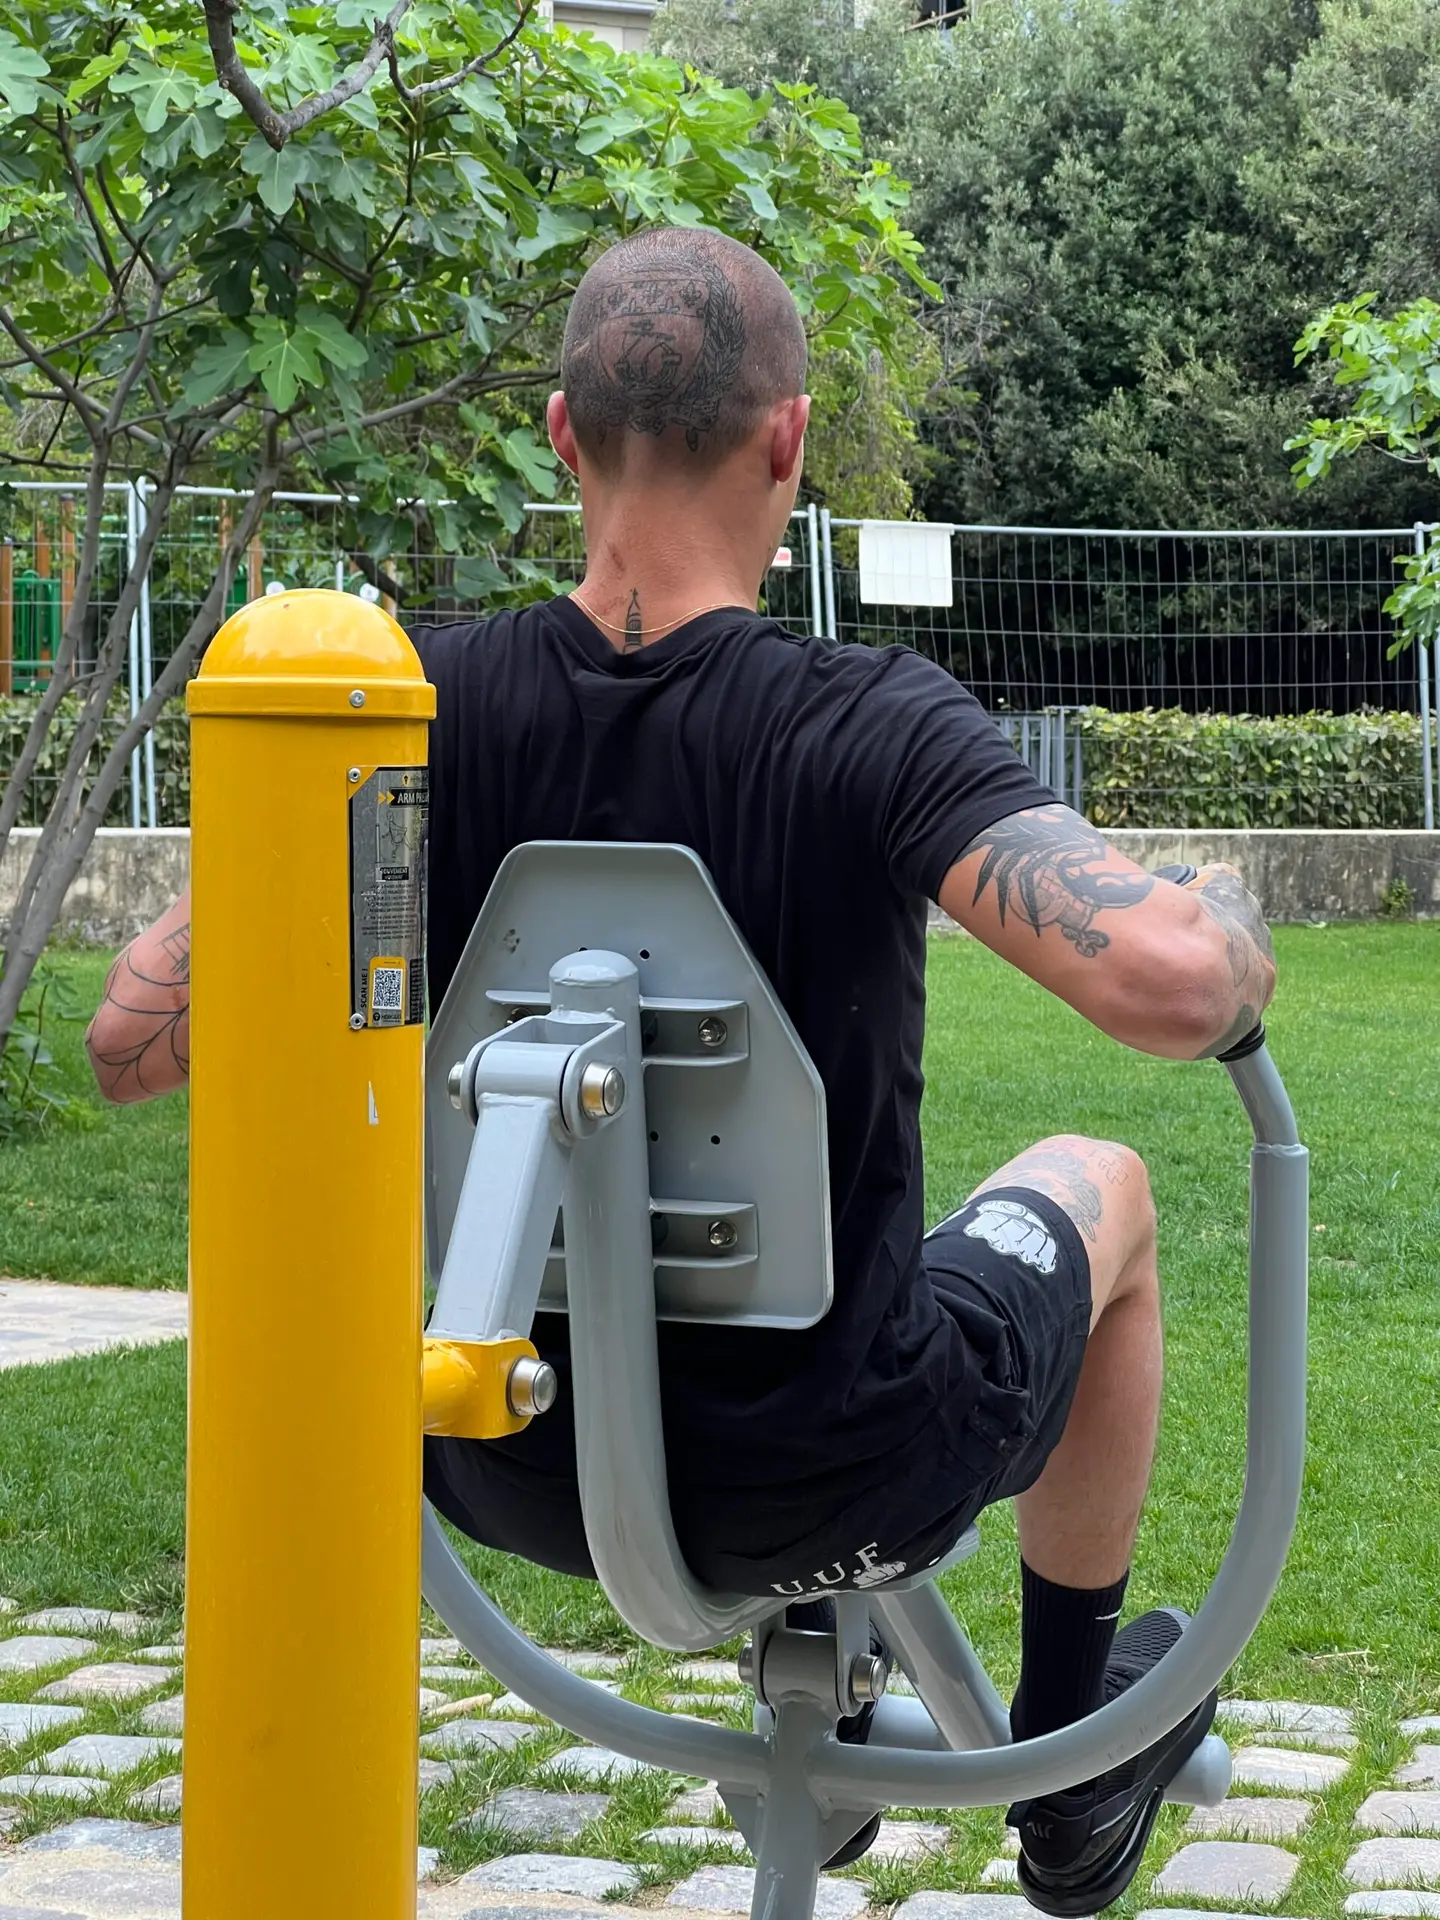
Variants for progress
Like the chest press, the low row has no adjustable load system. However, several levers can be used to modulate difficulty.
– Change the tilt of the torso: the further back you lean when pulling, the greater the resistance. For light work, remain almost vertical; for intense work, incline the torso at 30-45 degrees.
– One-sided pulling: if the apparatus allows, pull with one hand at a time. The load on the arm being worked is doubled, and abdominal sheathing is massively solicited to stabilize the torso against rotation.
– Vary the grip: some low rows offer several grips (wide, narrow, neutral). The wide grip targets more the external dorsi, while the narrow grip engages more the rhomboids and mid-back.
– Play with tempo: explosive draw (1 second) then very slow return (4 seconds). This reversed tempo makes massive progress without changing the volume.
– Maximum contraction pause: mark 2 seconds in a contracted position (shoulder blades clenched, handles against trunk). This is extremely demanding for the rhomboids and brings rapid postural gains.
The low row compared to other outdoor back exercises
A fitness area offers a number of different pulling exercises. Here’s how the low row is positioned in relation to the other movements available.
| Exercise | Print type | Difficulty | Main target |
| Low row exterior | Horizontal guided | Accessible | Middle back, rhomboids |
| Pull-up | Free vertical | Advanced | Latissimus dorsi, biceps |
| Australian Traction | Horizontal free | Intermediate | Mid back, sheathing |
| Rowing machine without weights | Horizontal free | Beginner | Posture, warm-up |
None of these exercises is better in absolute terms: they complement each other. Pull-ups develop pure strength and width of the back, Australian pull-ups work the thickness of the mid-back with strong sheathing, the low row precisely targets the rhomboids and allows progressive loading with no initial strength prerequisites, the weightless rower remains an excellent warm-up and an option for beginners. Combining them in the same session produces a complete back workout.
Complete back to park program in 45 minutes
Here’s a program structured around the low row, designed to develop a strong, broad and well-balanced back, using only the classic apparatus of a public fitness area. The session is designed to be completed in around 45 minutes, including warm-up and cool-down, two or three times a week.
| # | Exercise | Format | Recovery | Objective |
| 1 | Warm-up (rotations, rowing without weights) | 5 minutes | / | Prepare |
| 2 | Pull-ups (assisted if necessary) | 4 × 5-8 reps | 90 s | Force |
| 3 | Low row exterior | 4 × 10-12 reps | 75 s | Volume |
| 4 | Australian pullovers | 3 × 10 reps | 60 s | Volume |
| 5 | Unilateral low row (one arm) | 3 × 8 reps/arm | 45 s | Balance |
| 6 | Back + pectoral stretching | 5 minutes | / | Recovery |
Detailed stages
- Warm-up (5 min): brisk walk around the park, shoulder rotations (15 in each direction), arm rotations, 30 seconds of weightless rowing (imitating the gesture, standing). The aim is to increase muscle temperature and mobilize the joints involved.
- Pull-ups (4 × 5-8 repetitions): always start with the most demanding exercise. Pull-ups work the whole back with the greatest intensity, so doing them at the start of your session allows you to devote all your energy to them. If you still can’t manage 5 strict pull-ups, use a support elastic.
- Low row (4 × 10-12 repetitions): the pivot of the session. Concentrate on retracting the shoulder blades and working in the eccentric phase. This is where you develop the thickness of the mid-back.
- Australian pull-ups (3 × 10 repetitions): complementary to the low row, these add a strong abdominal sheathing dimension. Perform them under a low bar, body horizontal, pulling the chest towards the bar.
- Unilateral low row (3 × 8 repetitions per arm): corrects any asymmetries in strength between the left and right sides, and intensively engages the gainage. It’s the ideal finishing exercise.
- Stretching (5 min): essential after a back workout. Stretch the lats (arms stretched high, chest tilted to the side), pectorals (forearms against the wall, chest rotated outwards), and trapezius (head tilted to the side, hand gently accentuating). 30 seconds per muscle group.
Cumulative session volume
Over the course of the session, you’ll perform around 22 to 32 pull-ups, 40 to 48 low row repetitions (combining bilateral and unilateral), and 30 Australian pull-ups. That’s a volume perfectly comparable to a back session in the gym, or even higher, all without equipment and in the open air.
Mistakes to avoid on the outdoor low row
– Pulling with the arms instead of the back: mistake no. 1. Always start the movement by retracting the shoulder blades, and only then by bending the elbows.
– Round your back: especially at the end of the return stroke, when you release your shoulder blades. Keep the ribcage open and the lower back engaged at all times.
– Lock the elbows at the end of the return stroke: always maintain a slight flexion. Fully extended arms transfer tension to the joints.
– Going too fast: the pull must be controlled. Rapid execution uses momentum rather than muscle. The return phase should always be slower than the pulling phase.
– Neglect breathing: exhale as you pull, inhale as you release. Blocking your breathing increases intra-abdominal tension and can cause dizziness.
– Skip the warm-up: before the first heavy set, always do a very light set (handles pulled without tilting the chest) to prepare the shoulders.
The outdoor low row is one of the most useful pieces of equipment in a fitness area, yet one of the most neglected by exercisers. The reason is simple: less spectacular than pull-ups, less “Instagrammable” than parallel bars, it doesn’t appeal at first glance. And yet, it’s precisely this type of exercise that produces the most visible benefits in terms of posture, upper-body muscular balance and prevention of neck pain.
Integrated into a complete back program, based around pull-ups, Australian pull-ups and unilateral variations, it is an essential pillar of a balanced outdoor training program. Three sessions a week for six to eight weeks are all it takes to see tangible results: a wider, thicker back, straightened posture and greater tolerance to long periods of sitting. And all free of charge, in a park, without any personal equipment. If your fitness center has one, don’t miss out: it’s worth its weight in gold.